此内容根据文章生成,并经过人工审核,仅用于文章内容的解释与总结
iTerm2 是 Mac OS 中使用最为广泛的终端工具,特有的插件 plugin 提供了主题选择、生命高亮、代码自动填充、分屏等功能,相较于自带的终端实在是强大太多。
iTerm2 安装 下载地址:https://www.iterm2.com/downloads.html
下载的是压缩文件,解压后是执行程序文件,你可以直接双击,或者直接将它拖到 Applications 目录下。
1 $ brew cask install iterm2
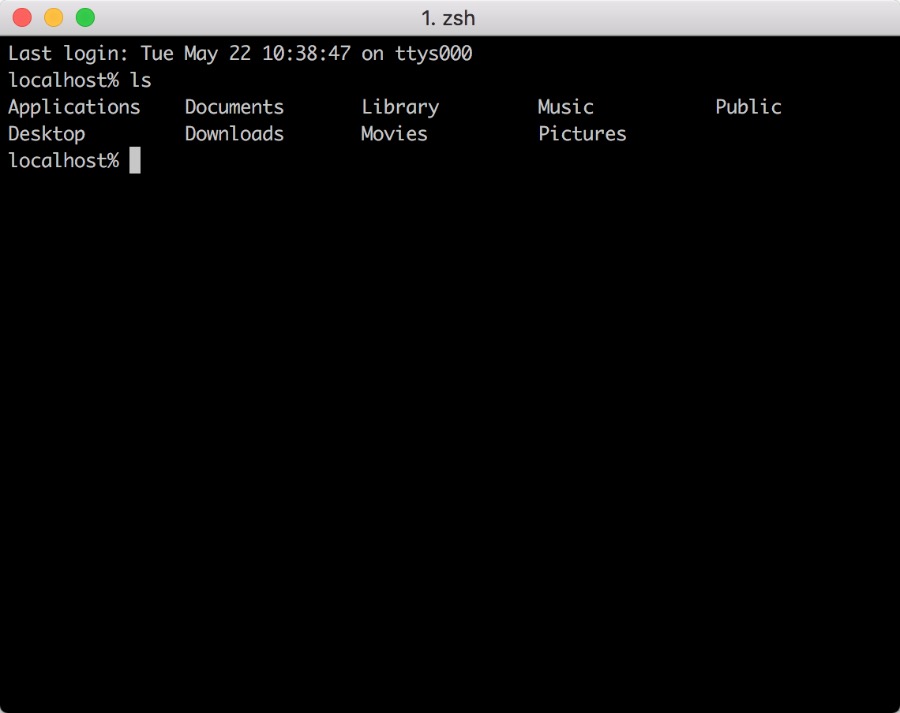
安装完成后的 iTerm,之后需要调整主题。
oh-my-zsh
Oh My Zsh 是对主题的进一步扩展,地址:https://github.com/robbyrussell/oh-my-zsh
1
2
3
4
5
6
7
8
9
10
11
12
13
14
15
16
17
18
cat /etc/shells # List of acceptable shells for chpass(1). # Ftpd will not allow users to connect who are not using # one of these shells. /bin/bash /bin/csh /bin/ksh /bin/sh /bin/tcsh /bin/zsh # 输入如下命令更改zsh为默认shell chsh -s /bin/zsh # 查看是否切换成功, 返回 /bin/zsh 就对了。 echo $SHELL
安装 oh-my-zsh
1 $ sh -c "$(curl -fsSL https://raw.github.com/robbyrussell/oh-my-zsh/master/tools/install.sh)"
特说说明:上文中的地址可能无法使用,使用https://gitee.com/mirrors/oh-my-zsh/ 此处为国内同步文件。
安装好后的界面:
1
2
3
4
5
6
7
8
9
10
____ / /_ ____ ___ __ __ ____ _____/ /_ / __ \/ __ \ / __ `__ \/ / / / /_ / / ___/ __ \ / /_/ / / / / / / / / / / /_/ / / /_(__ ) / / / \____/_/ /_/ /_/ /_/ /_/\__, / /___/____/_/ /_/ /____/ ....is now installed! Please look over the ~/.zshrc file to select plugins, themes, and options. p.s. Follow us at https://twitter.com/ohmyzsh. p.p.s. Get stickers and t-shirts at http://shop.planetargon.com.
主题选择 将 zsh的主题更改为 Dracula 1 2 3 4 5 6 7 8 9 10 11 # 下载主题文件 git clone https://github.com/dracula/zsh.git # 创建一个指向Oh my zsh主题文件夹的符号链接,DRACULA_THEME是你刚才下载主题的目录 ln -s $DRACULA_THEME/dracula.zsh-theme ~/.oh-my-zsh/themes/dracula.zsh-theme 或者你可以移动主题文件dracula.zsh-theme到~/.oh-my-zsh/themes/下 提示: 显示隐藏文件夹的快捷键为command+shift+. # 修改zsh主题。编辑~(用户名)下.zshrc文件,修改ZSH_THEME为"dracula" $ vim ~/.zshrc
修改 iterm 配色为 Dracula 1 git clone https://github.com/dracula/iterm.git
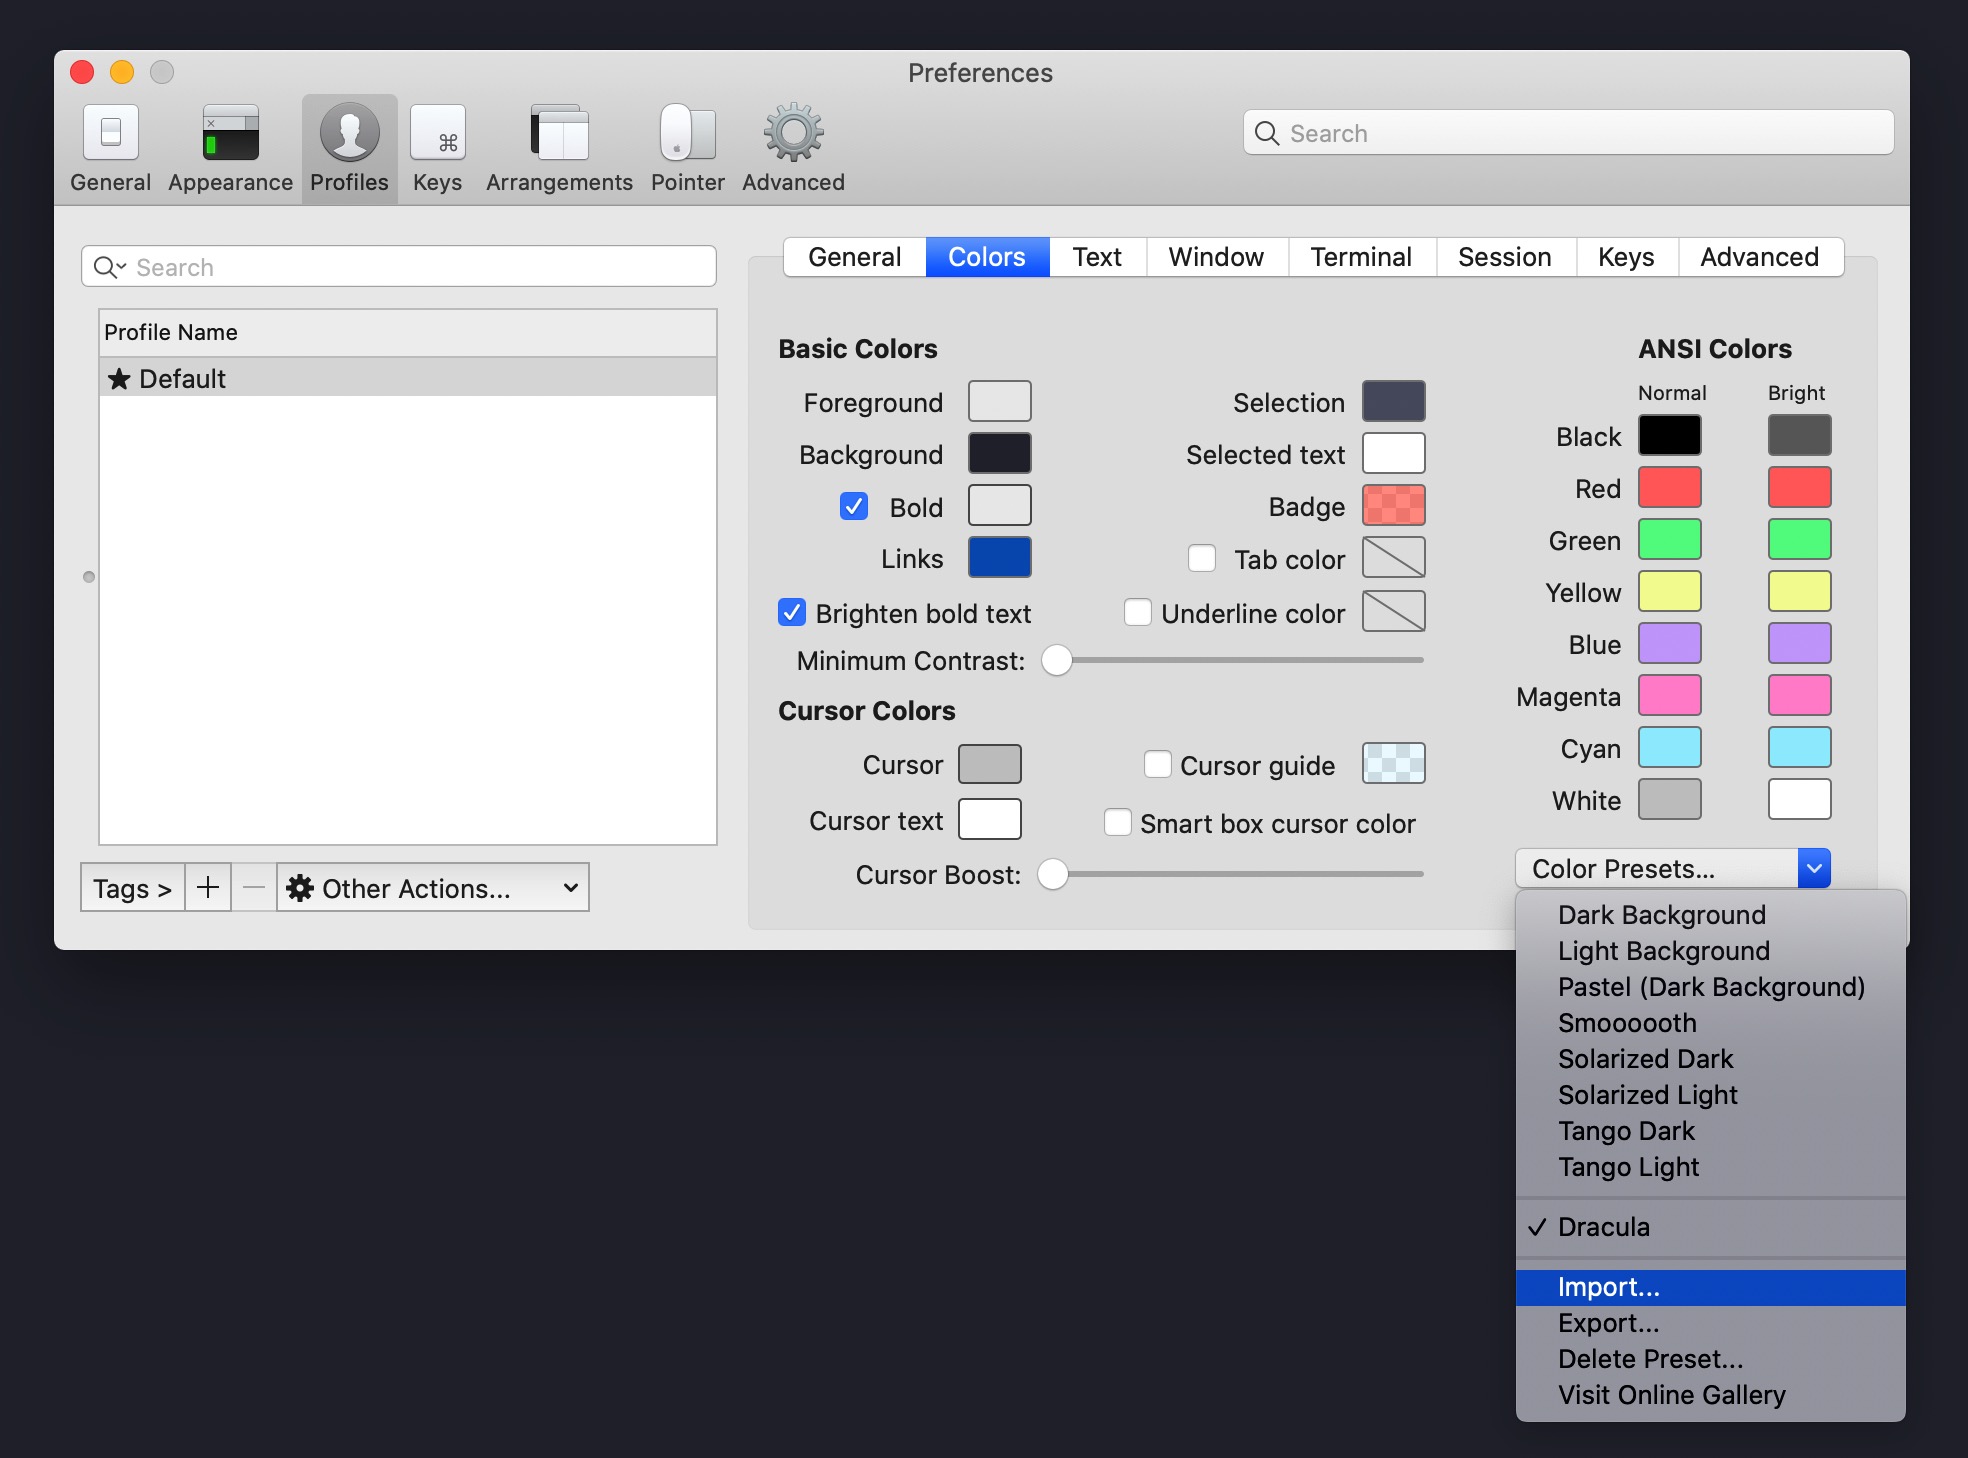
在 iTerm2 中 打开 Preferences 下面的 Profiles 的 Colors Tab 选项,使用 Import 导入配置,导入配置后,选中对应的dracula主题背景即可。
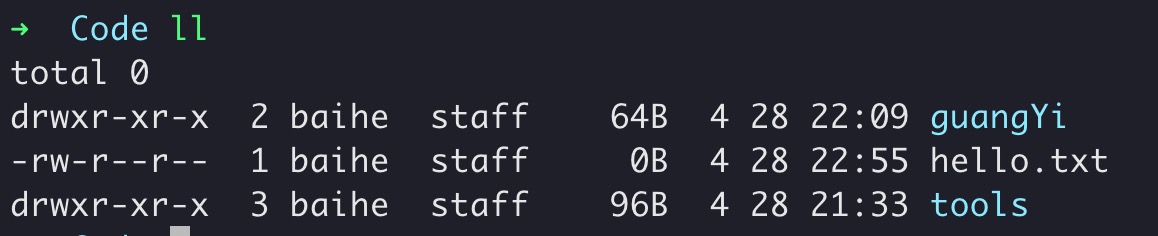
目录和文件名区分设置 Preferences -> Profiles -> Text -> Text Rendering 将 Draw bold text in bright colors 前面的勾去掉,就可以实现。
快速跳转目录 Zsh 支持目录的快速跳转,利用命令 d 可以查看最近访问的目录,输入返回的目录前面的数字,就可以实现快读跳转目录。
1 2 3 4 5 ➜ Code d 0 ~/Code 1 ~ ➜ Code 1 ~
命令设置别名 通过在 .zshrc 中配置alias,可以方便的为其他的命令设置别名,例如git快捷键,以及ssh服务器登录别名快捷键等。
1 2 3 4 5 6 7 8 9 10 11 12 13 14 15 16 17 18 19 20 21 22 23 24 25 26 27 28 29 30 vim ~/.zshrc # git alias alias gs="git status" alias ga='git add' alias gd='git diff' alias gf='git fetch' alias grv='git remote -v' alias gbr='git branch' alias gpl="git pull" alias gps="git push" alias gco="git checkout" alias gl="git log" alias gc="git commit -m" alias gm="git merge" # local alias alias cd..="cd .." alias cd...="cd ../.." alias cd....="cd ../../.." alias ..="cd .." alias ...="cd ../.." alias ....="cd ../../.." alias ip="curl ip.cn" # server alias alias local-server="ssh root@192.168.91.12" source ~/.zshrc
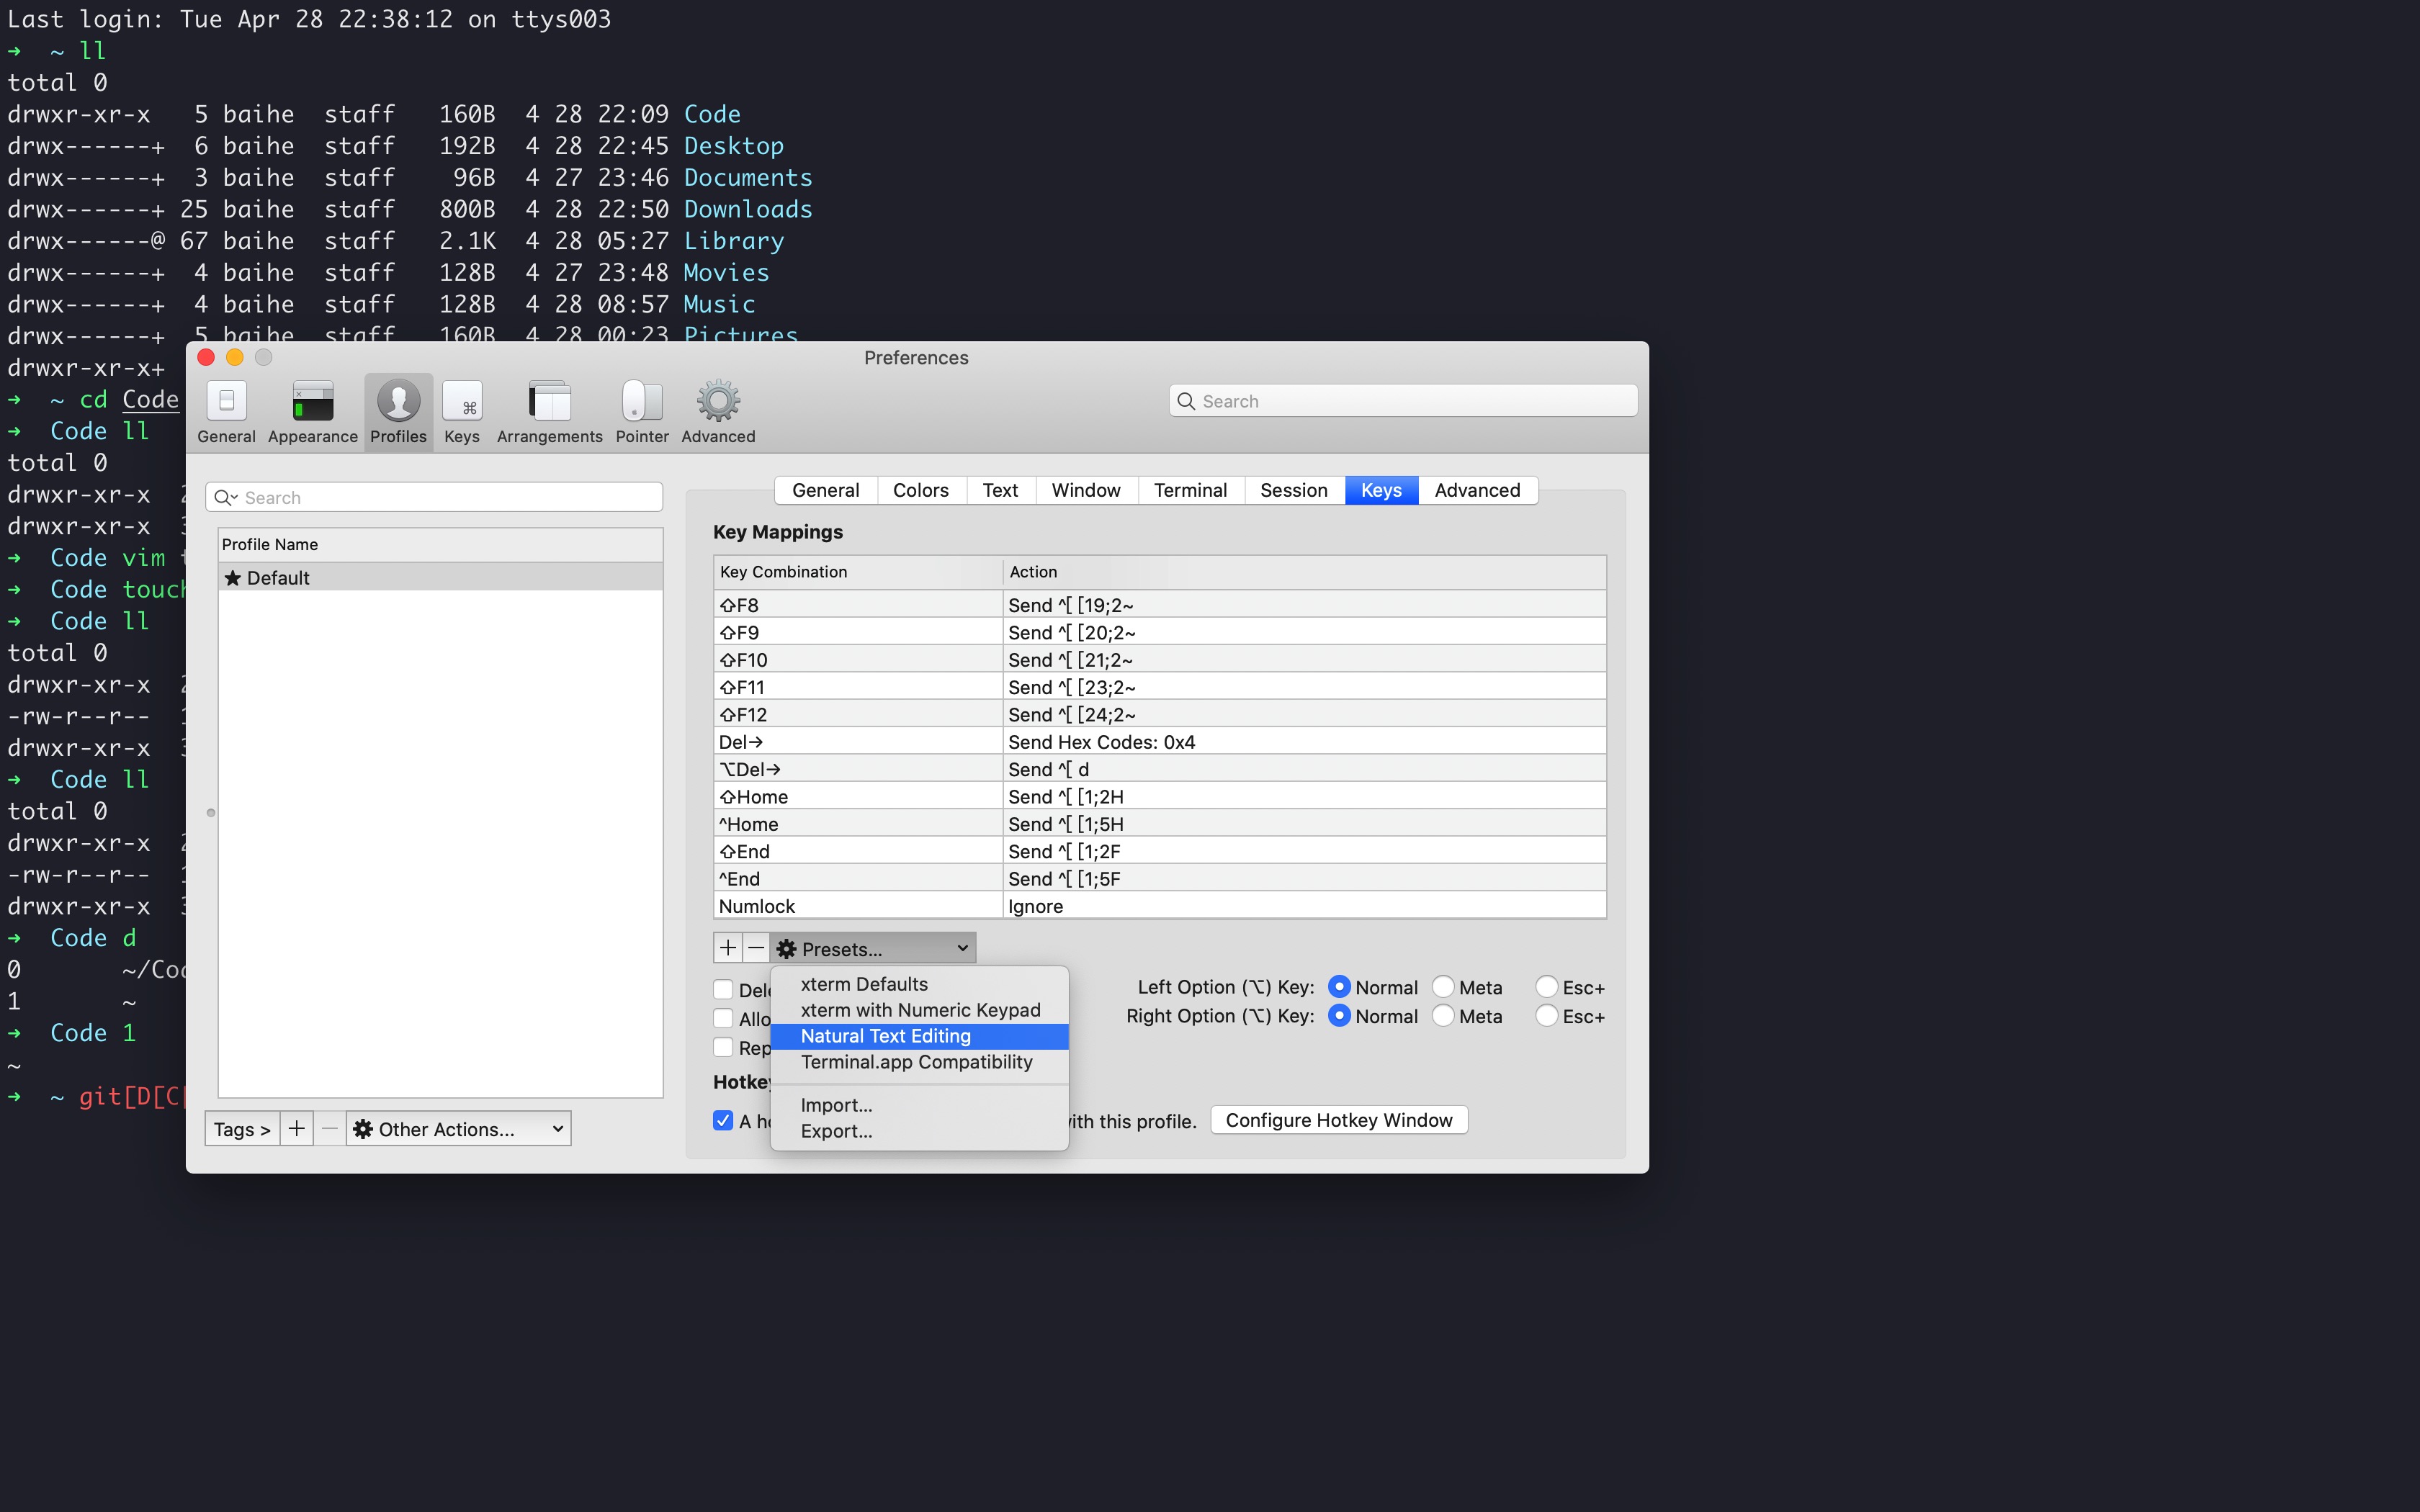
左右键跳转 主要是按住option + → or ←键,在命令的开始和结尾跳转切换,原本是不生效的,需要手动开启下。
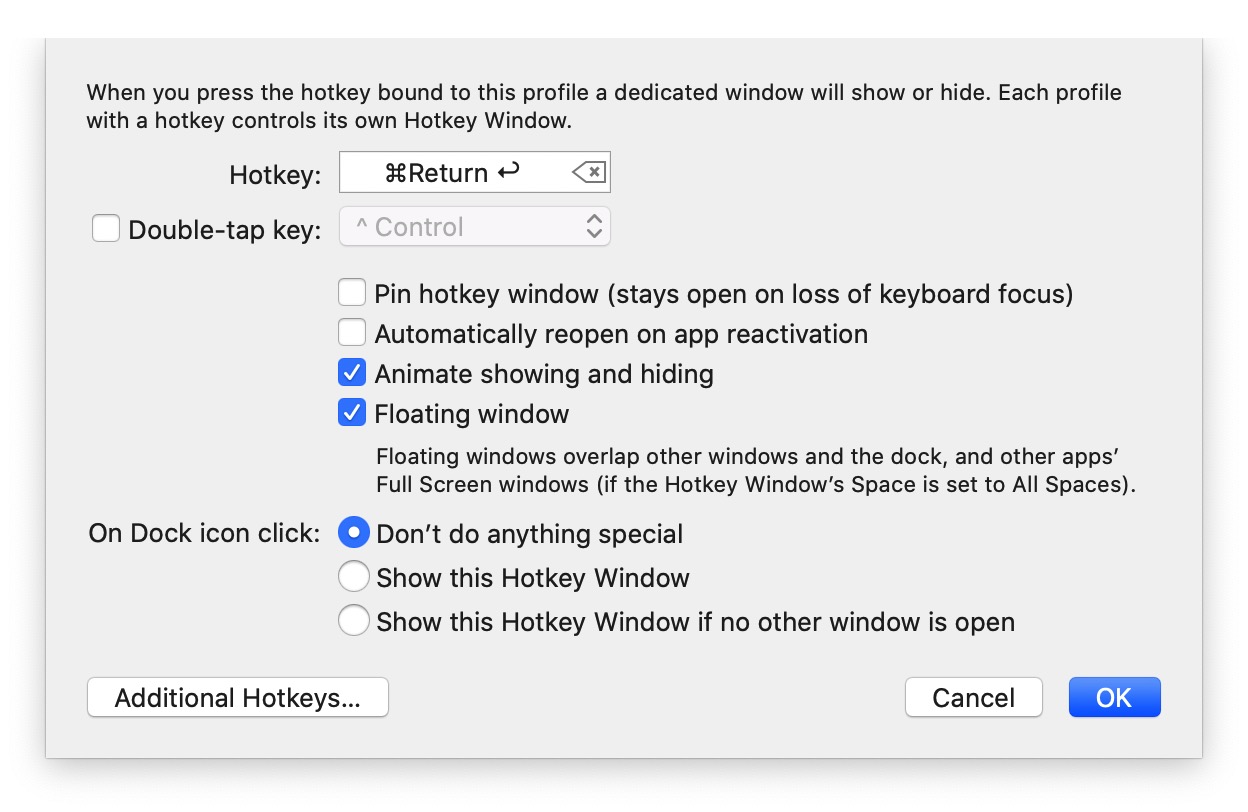
iTerm2 快速隐藏和显示 这个功能也非常使用,就是通过快捷键,可以快速的隐藏和打开 iTerm2,示例配置(Commond + enter):
命令自动补齐插件 zsh-autosuggestions 这个功能是非常实用的,可以方便我们快速的敲命令。。
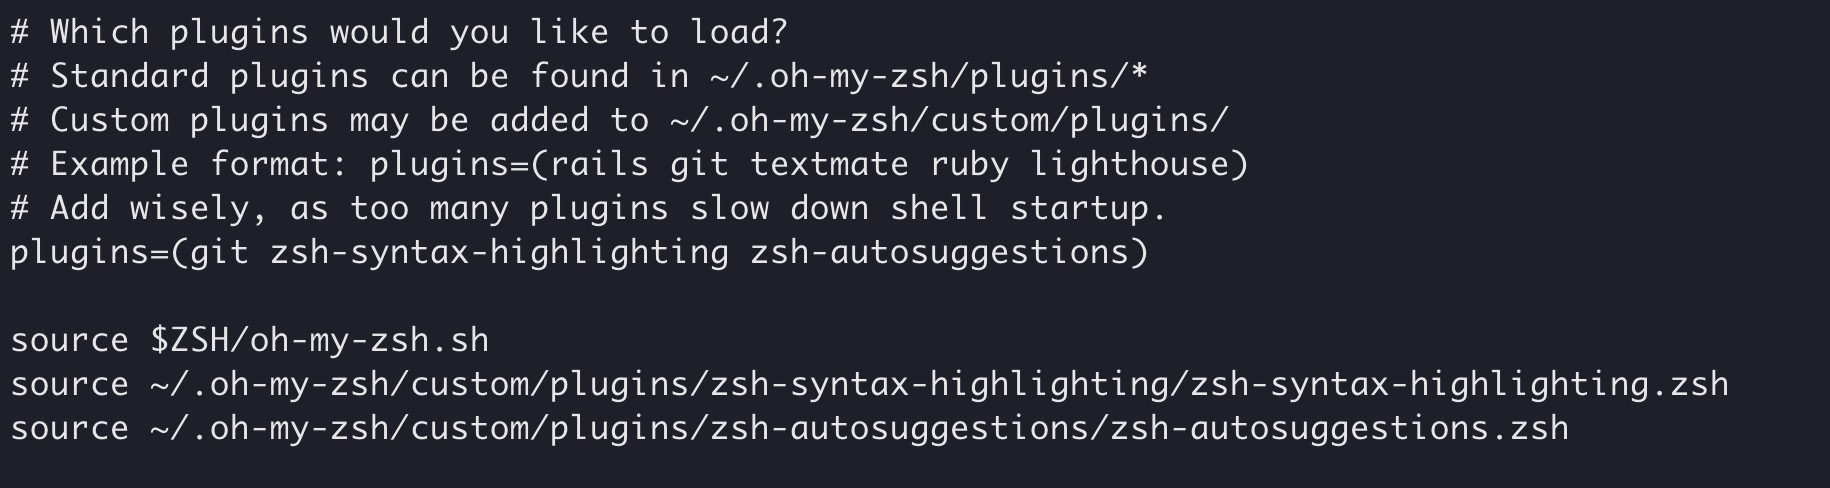
先克隆zsh-autosuggestions项目,到指定目录,然后编辑vim ~/.zshrc文件,找到plugins配置,增加zsh-autosuggestions插件。
1 2 3 4 5 6 7 8 9 10 11 12 13 14 15 16 17 18 19 cd ~/.oh-my-zsh/custom/plugins git clone git://github.com/zsh-users/zsh-autosuggestions cd ~/.oh-my-zsh/custom/plugins/zsh-autosuggestions # 修改 ZSH_AUTOSUGGEST_HIGHLIGHT_STYLE 值 vim zsh-autosuggestions.zsh ZSH_AUTOSUGGEST_HIGHLIGHT_STYLE='fg=10' # 添加代码 vim ~/.zshrc source ~/.oh-my-zsh/custom/plugins/zsh-syntax-highlighting/zsh-syntax-highlighting.zsh # plugins 后增加zsh-autosuggestions plugins=(git zsh-autosuggestions) source ~/.zshrc
增加指令高亮效果 特殊命令和错误命令,会有高亮显示。
然后编辑vim ~/.zshrc文件,找到plugins配置,增加zsh-autosuggestions插件。
1
2
3
4
5
6
7
8
9
10
11
12
13
cd ~/.oh-my-zsh/custom/plugins 执行指令将工程克隆到当前目录 git clone git://github.com/zsh-users/zsh-syntax-highlighting.git 打开`.zshrc`文件,在最后添加下面内容 vim ~/.zshrc 添加代码 source ~/.oh-my-zsh/custom/plugins/zsh-syntax-highlighting/zsh-syntax-highlighting.zsh plugins=(zsh-syntax-highlighting) 保存文件。 执行 source ~/.zshrc
iTerm2 快速隐藏和显示窗体: 这个功能也非常使用,就是通过快捷键,可以快速的隐藏和打开 iTerm2,示例配置(Commond + .):
打开 iTerm2,按Command + ,键,打开 Preferences 配置界面,然后Profiles → Keys →Hotkey,自定义一个快捷键就可以了。
iTerm2 配置代理 编辑~ vim ~/.zshrc,增加下面配置(使用的 shadowsocks):
1
2
3
4
5
6
7
8
9
10
11
12
# proxy list alias proxy='export all_proxy=socks5://127.0.0.1:1086' alias unproxy='unset all_proxy' iTerm2 需要新建标签页,才有效果: $ proxy $ curl ip.cn 当前 IP:185.225.14.5 来自:美国 $ unproxy $ curl ip.cn 当前 IP:115.236.186.130 来自:浙江省杭州市 电信
全局环境便利加载 将shell从bash切换到zsh之后,可能有的环境变量会失效,需要将原来在bash配置文件中的配置转移到zsh配置文件中,这里提供两个方式。
将bash配置文件~/.bash_profile中的环境变量等配置复制到zsh配置文件~/.zshrc中 在zsh配置文件~/.zshrc中添加下面这行 快捷命令 1 2 3 4 5 6 7 8 9 10 11 12 13 14 15 16 17 command + t 新建标签 command + w 关闭标签 command + 数字 command + 左右方向键 切换标签 command + enter 切换全屏 command + f 查找 command + d 水平分屏 command + shift + d 垂直分屏 command + option + 方向键 command + [ 或 command + ] 切换屏幕 command + ; 查看历史命令 command + shift + h 查看剪贴板历史 ctrl + u 清除当前行 ctrl + l 清屏 ctrl + a 到行首 ctrl + e 到行尾 ctrl + f/b 前进后退 ctrl + p 上一条命令 ctrl + r 搜索命令历史